Thursday, 8 November 2018


Calming Garden


This art journal page represents the calming feeling of the life outside my window. 


I started by gluing down a mandala adult colouring book and strips of plasters tape. 
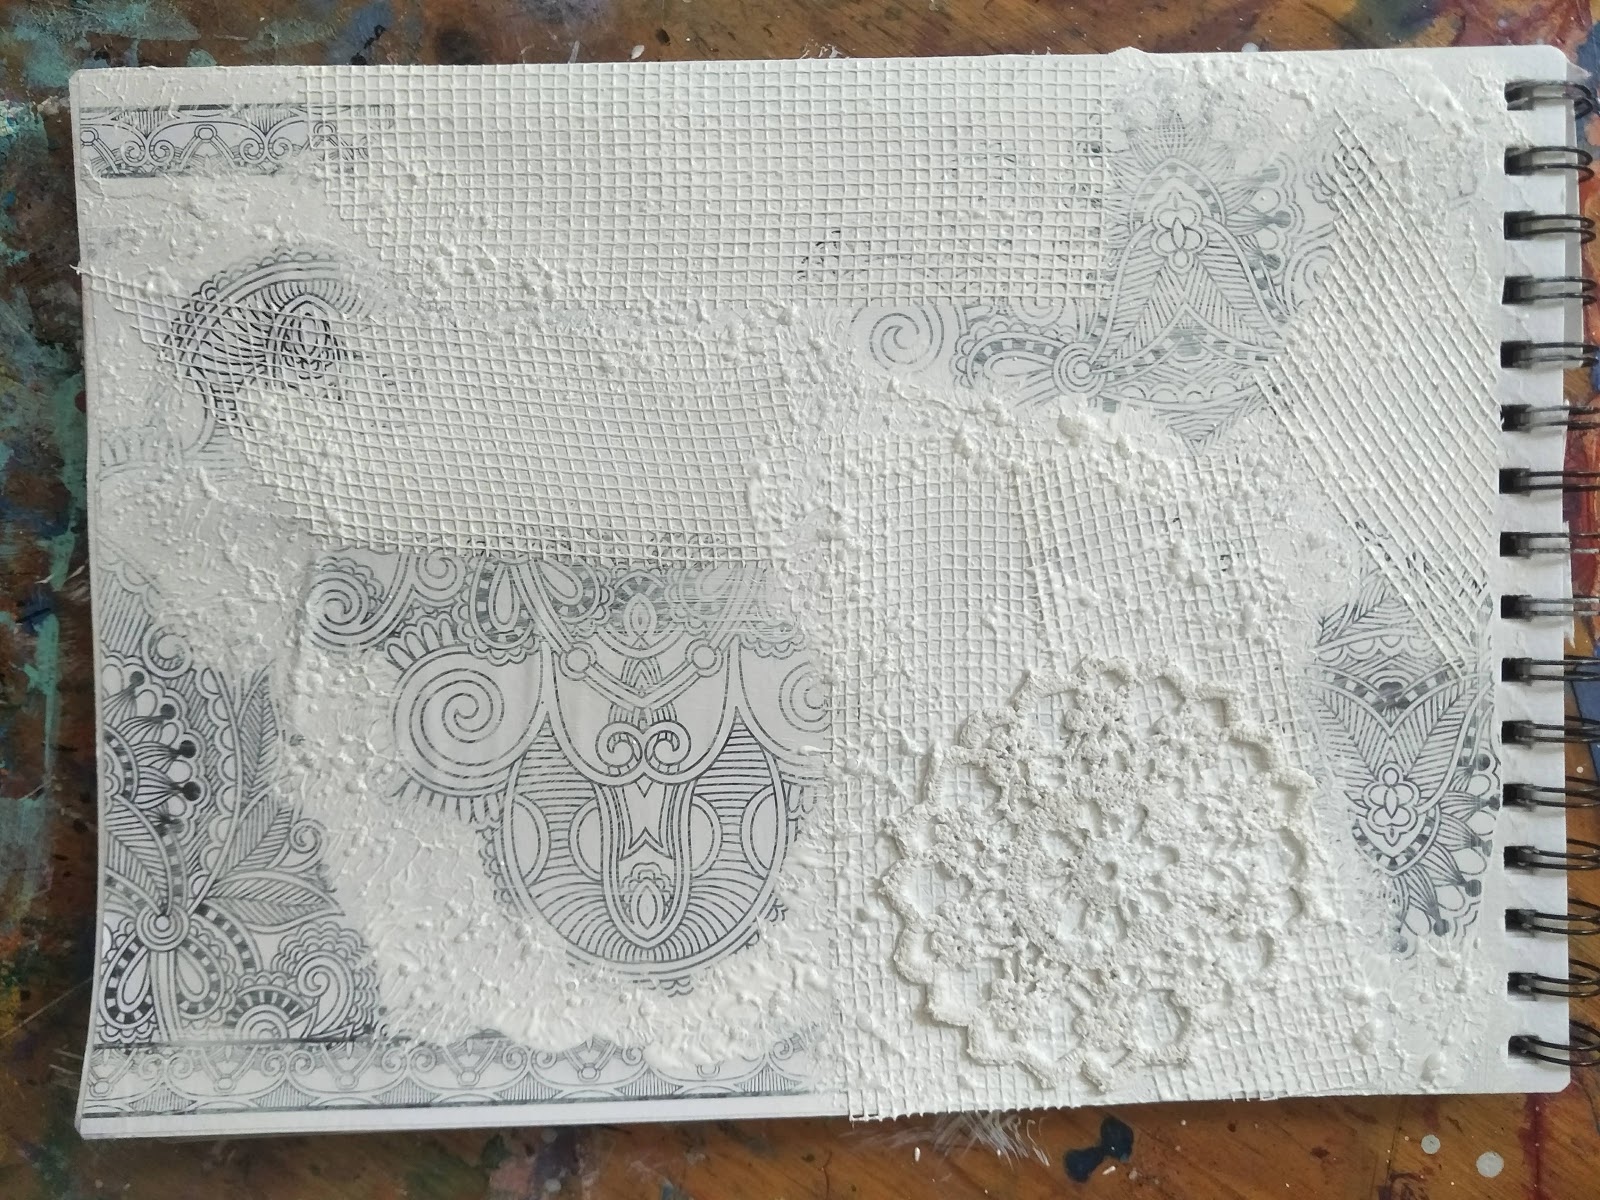

I then used white gesso to seal the page and also to work as an adhesive for the fabric doiley. I dabbed the gesso on with a dry brush to create texture and form small bubbles on the page. 


Fabric doiley


Bubbles formed with gesso.


I then used Tim Holtz distress paint colours (mustard seed, mermaid lagoon and carved pumpkin) to create this green. I didn't have a tim holtz green so i experimented with mixing the colour directly on the page. I must say i was very happy with the result. 


I then added Tim holtz distress paint colour( seedles preserves) to the fabric doiley as well as to high light various areas of the page. I also added tim holtz ALCOHOL ink (denim) to the page. As i only have a small collection of the distress paint i'm really loving creating my own colours from them. Such a fantastic paint to play with. 


I added a yellow green acrylic paint through a stencil all over the page, missing the doiley. Once dry i pulled the plasters tape off leaving behind this fantastic stencil pattern on the page. 


I then placed the plasters tape back onto the page. Plasters tape is an amazing craft tool as it can be used as a stencil and an embellishment to add to journal pages or atc's (artist trading cards).


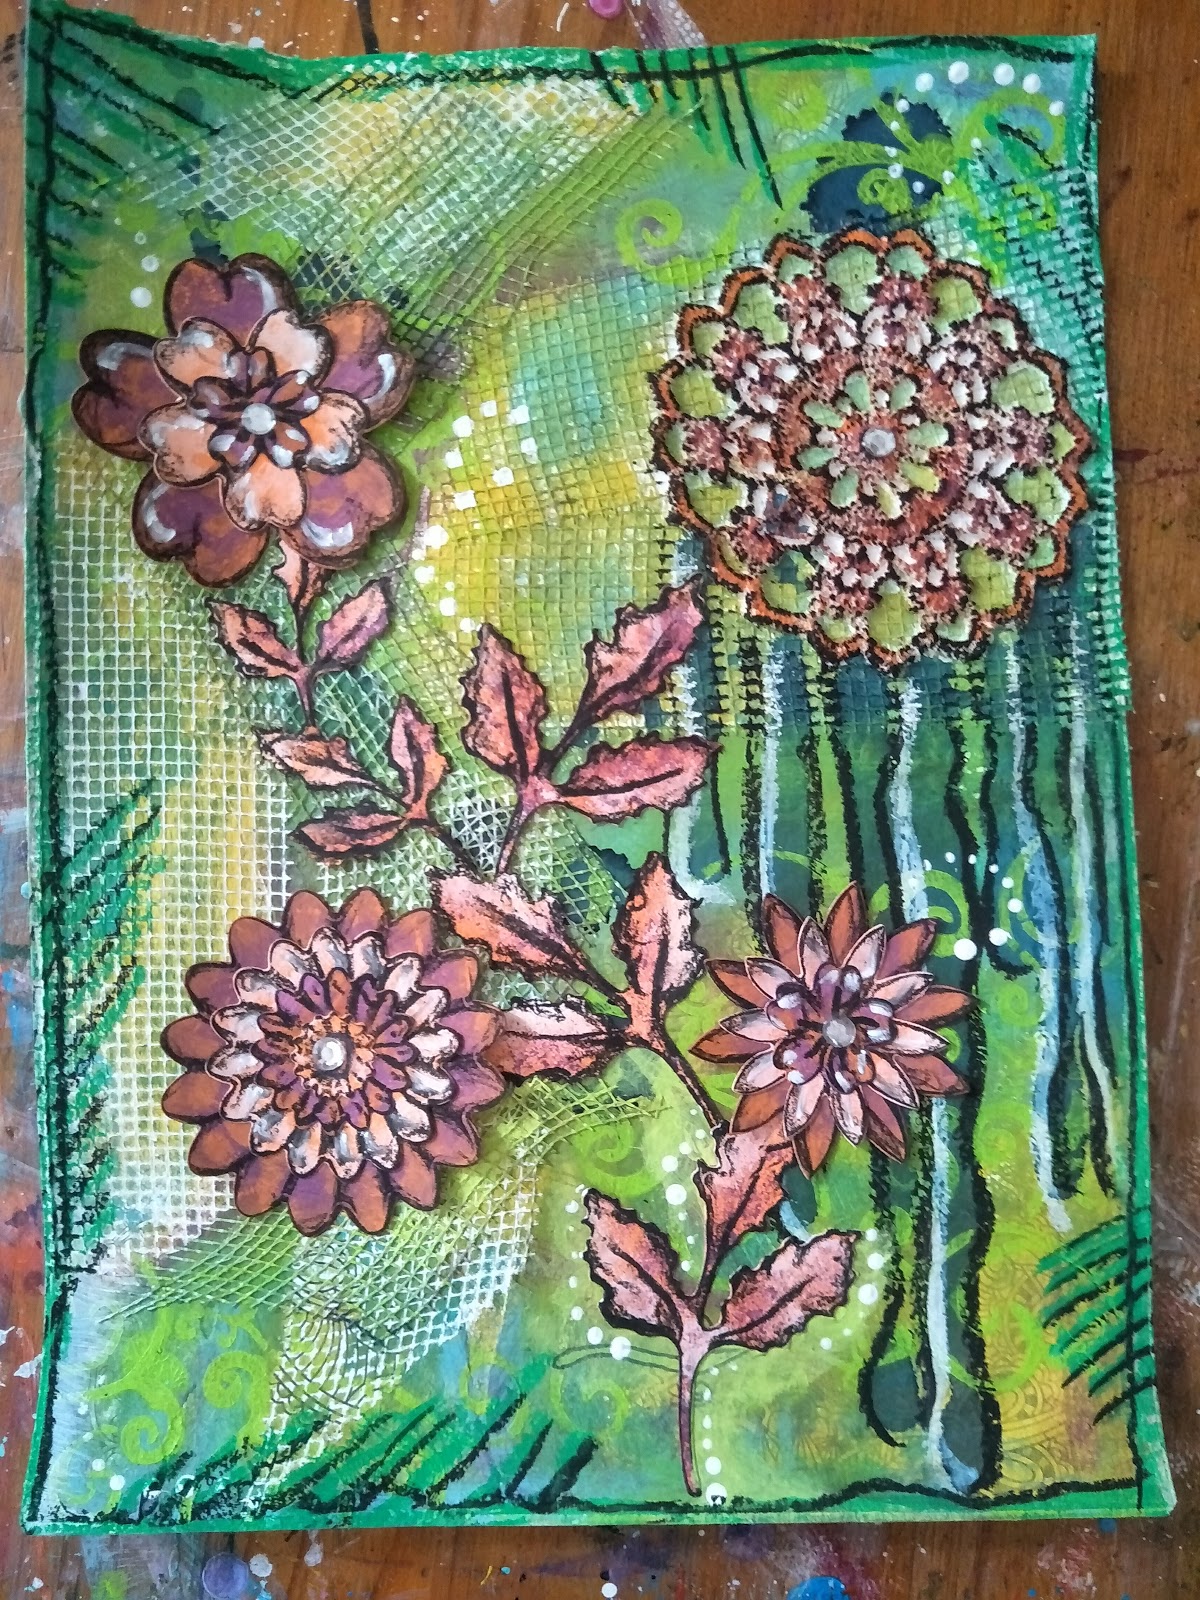
I then painted some flower and leaf die cuts using the tim holtz distress paint. I used a black oil pastel around the edges to create depth. 


I also used black and white oil pastels on the fabric doiley and on the alcohol ink drip under the doiley.


I used black and a green oil pastel around the edges of the page creating a boarder. I added bling to the centre of the flowers.  I must apologise for the quality of the last few photos. Not sure what happened there. 

I hope you have enjoyed this blog. 

I got the inspiration from the November art and soul mood board. (green). 

The products used in this page can be purchased from the art and soul website,
www.artandsoul.com.au  other products include die cuts, fabric doiley, bling, yellow green acrylic paint and plasters tape. 

Thankyou for taking time out to view my blog. xoxo


Sunday, 4 November 2018


Today's art journal page is vintage inspired.  I love this vintage photo a lovely lady sent me. 


I started by gluing this very cool wrapping paper to the page. 


Then i glued some script paper from the Kaisercraft pen and ink range. Available from your local spotlight store. I also added a vintage label also available from the range. 


Then i used Tim Holtz Distress paint ( tattered rose ), and dry brussed it all over the open white page, edging the glued paper.


I then added Tim Holtz Distress Paint in (antiqued bronze) around the edge's of the glued  paper 


Then i added this amazing mint acrylic paint with a brayer. I love using a brayer, it gives such a rustic look. I then added black gesso while the paint was still wet. Gently rubbing it onto the page with my fingers. 


I then added this beautiful image and a vintage butterfly image from the Kaisercraft pen and ink range. I also added a cut out from a beautiful napkin with butterflies and flowers.  I concentrated the black as a boarder for the images and the page. 


Then using a gold 3D fabric paint i a bit of bling to the page. My craft hack is using the fabric paint as an adhesive for the bling. It gives the work an almost jewellery look to it, well i think so anyway. 


I also used the gold fabric paint as a boarder to the butterflies image and added bling to the butterflies antenna. 


I'm very happy with the overall look of this page. I was going to add a quote as i most often do but decided this page didn't need one. 

I hope you have enjoyed this page as much as i enjoyed making it. 

Products for this page can be purchased from spotlight, your local craft store or any good online craft stores..... https://artandsoulstudio.com.au

xoxo Thankyou for taking time out of your day to view my page.

Monday, 8 October 2018

What to do with a spare half an hour.


LIVE with Promise, LOVE with Passion, LAUGH with Pleasure.


In this blog you'll see me using only one stencil for the background. Instead of using an art implement with paint through the stencil i paint straight onto the page, place the stencil onto the painted area and using a baby wipe, wipe the paint away through the stencil. You'll see what i mean...
Enjoy. xoxo


Start by gluing down whatever book pages and simple images you like. I've used a page from a novel, a sheet of music, a clock face, bingo ticket and a random number. Place them wherever you feel onto the page. 


I blobbed the orange acrylic paint directly onto the page in four spots. Then using a dry brush i spread the paint onto the parts of the page that were empty. I wasn't fussed if the paint covered part of the images and book pages.


While the paint was wet i placed the stencil onto the page. Using a baby wipe i gently wiped away the paint through the stencil. I love using this technique. The paint stains the page as you wipe the paint away to give a lovely soft look. I then dried the page with my hair dryer. Make sure each layer of paint is dry otherwise the paint colour will mix and could look muddy.


I then did the same with mint acrylic paint. I blobbed the paint directly onto the page, spread the paint with a dry brush and placed the same stencil onto the wet paint, wiping away with a baby wipe to reveal a soft stencil look.


I then did this process one more time with this lovely (yellow/pink) or cream looking acrylic paint. 


I then rubbed the brush i was using for this colour onto the page using up the very last of the paint. I hate wastage. This also helped soften up the areas of orange and the top gap near the bingo card.


Then using a very old, much loved hard bristled brush i added a little bit of black.
I love clocks and flowers. 


Then without adding any more black paint to the brush i rubbed the edges of the page as well as boarder the number and bingo card. The brush pictured i've had since year 11, so almost 18 years. I'll probably cry when my beloved brush falls apart.


Now it's time to play with bubble wrap. I love bubble wrap. The more times you use the same piece the more paint is collected on it. Using white acrylic paint smeared onto a spare piece of paper i lightly press the bubble wrap onto it. 


Then i press the bubble wrap onto the page.


The above picture is the bubble wrap print. As you can see some of the paint from the bubble wrap has come off onto the page. I love this. Now with out adding any dark blue paint my page has magically transformed with pops of colour. Craft magic makes me very happy.


The bubble wrap prints are mainly kept to the centre of the page. As the amount of white paint lessens i press the bubble wrap firmly all over the page helping lighten up the page.


Then using a smaller stiff bristled brush i used this great stencil. However you van add a quote from a book or use a black sharpie or brush and write/paint your own words of wisdom. 


Then i added a little bling. I've had these brown/orange and green hue diamante's for awhile but didn't know what to use them on. Perfect page for vintage bling. 

I hope you have enjoyed this page as much as i enjoyed making it. 

Give it a go and show us your craft love. 


Thank you for taking some time to view this page. I hope these simple craft techniques help you on your craft journey.
xoxo

Saturday, 6 October 2018

Crazy Circle Mixed Media Journal Page.

This mixed Media Art Journal Page i've named Crazy Circles, for obvious reasons. I did'nt know what this page was going to look like at the end, i simply collected the paint colours i love, the stencils that jumped out at me and a good old black sharpie.


The above photo is of the products i used to create my Journal Page. All these products were purchased from my local dollar store. I've found that often the cheap paint products are just as good as the expensive ones.


I started by placing six pea sized blobs of paint in a triangle shape on the page. Two blobs of each colour (forest green and sky blue) three times. (as pictured above). I then used a play dough rolling pin to spread the paint across the page. You can also use a brayer roller from craft shops. These are much cheaper and do the same job.
Craft HACK......cheap is sometimes always the best....


Then i added a few pea sized blobs of (light leaf green) paint up the middle of the page. I then used the roller again to spread the paint over the page.


Then i used white gesso threw a stencil. I love this particular stencil as it have great area coverage with beautiful curves. I used a scrap piece od
f cardboard to gently scrape the gesso onto the stencil.


As you can see from the above picture by using cardboard that is flexible the stencil outcome is not quite purfect. With this type of journal page perfection is not an issue. For a cleaner gesso stencil outcome i've found that by using an old bank card, library card or something similar gives a great result. Also hold the stencil firmly to the page, unlike this page where i just dropped the stencil down and away i went.


I then added Plasters tape (mesh tape from bunnings) in random strips on the page.


Using a dry hard bristled brush i dabbed (cobalt blue) paint onto the plasters tape. I love using this tape. After dabbing the paint onto it gently lift the tape at one edge and peal away from the page leaving behind fantastic squares. This tape can be used as a stencil, as a textured feature to atc's (artist trading cards), and canvases and greeting cards. The great thing about using it as a stencil i now have two strips of tape that are a motttled blue and white.


Then using a dry brush again and the same dark green colour as before i lightly brushed over the gesso areas of the page. As i started brushing over the area i started noticing that not all the gesso had dried. That's ok as it just adds to the character of the page.


As you can see in this page the gesso smear with the green paint gives a great textured look, and with those blue squares there, wow, super happy at this point.


I then used the sky blue paint threw this great stencil i have. I love the curves and lines in this stencil. Great to use on...well, everything...
I also used a dry brush and lightly dabbed it onto the stencil. Makeup sponges also work a treat. Cotton tips, baby wipes also work, just experiment to find what works for you.


Now here i must apologise. I did take step by step photos of this part of the page accidentally deleted them. I used the stencil in all four corners of the page and one just off centre toward the bottom right. I then used an old bottle lid and dipped it into orange paint. I then placed it on the page creating cool circles. I had sure to re dip after each stamp of the lid. I also seem to have deleted this photo as well.


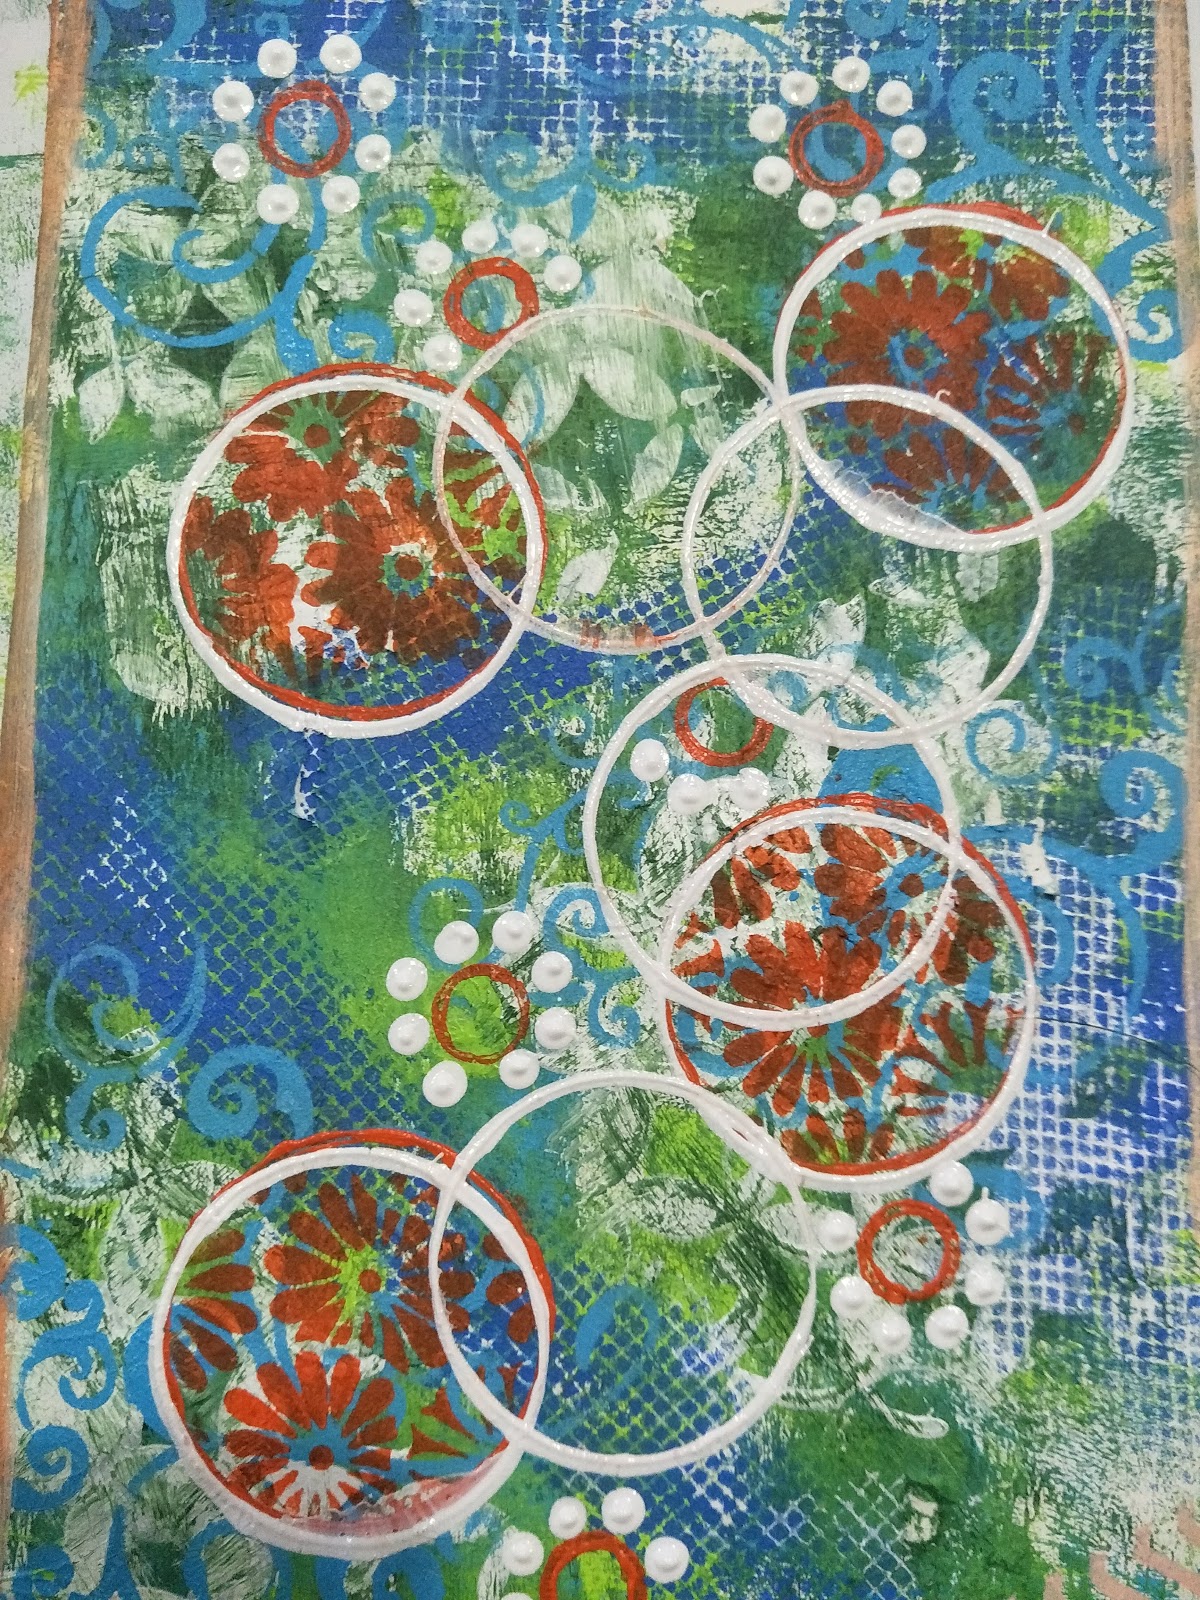
Ok, im so sorry for jumping ahead without step by step photos. As you can see i made four orange circles going up the page. I then made seven smaller circles using a smaller lid around the large circles. I also used a floral stencil inside the large orange circles. I then used the same large lid dipped into white paint over the top of the orange just slightly off to create an orange shadow. I also linked the circles with four large white circles as well as white dots around the smaller orange circles to make little flowers.


This is a close up of the orange shadow effect and floral stencil.


I then used paint colour (pink/yellow) threw a really cool zigzag stencil around the corners and edges of the page. I also flipped the page around as i felt that the page looked better this way around at this stage.  I also used a wet brush of a mix of white and pink/yellow paint and roughly ran it around the edge of the page.


Then using a ruler and a black sharpie pen i went around the edge of the (pink/yellow) stencil. I also framed the page but lining out the pink white edge. I also drew around the odd circles including the small ones, added black dots on the white dots as well as dash marks on the boarder where the stencil lines crossed.


Close up of the top left corner.


Close up of the top right corner


Close up of the bottom right corner


Close up of the bottom left corner.

I hope you have enjoyed this Mixed Media Journal Page. I honestly apologise for the lack of photos toward the end. Hopefully i didn't loose anyone. I was aiming to help instruct viewers with an easy, clear step by step page to try at home.

PRODUCT LIST:
Mont Marte Paints:
Yellow/pink,
Mid green,
Yellow green,
Yellow orange
Sky blue,
Cobalt blue,
Chinese white.....$2.99
Mont Marte gesso....$9.99

These are the prices from my local dollar stretcher store. Prices and stock will vary depending on store and location.

Plasters tape/ Builders edge fibreglass tape. 50mm x 20M...$7.17
This product price might vary depending on store, availability.

Stencils i buy from aliexpress. Down load the app for free from the app store. The most i've paid for a stencil is $2.06 and the cheapest was $0,77. These were with free shipping.

My brushes are just cheap brushes from dollar stretcher, my play gough roller is from kmart.

The above list is a recommendation on my craft HACK. craft doesn't have to cost an arm and a leg...


Thank you.   xoxo